This is a throwback post and a craft that's been around for countless years. Since the time of paper and scissors, adults and children have been cutting paper snowflakes for windows and gift packages.
I cut over a hundred every year for my windows. I've included a how-to video with this post, but I have tweaked my snowflakes over the years and want to share a new tip or two. There are two weeks between now and December. I need to cut a few daily to prepare enough for December 1st.
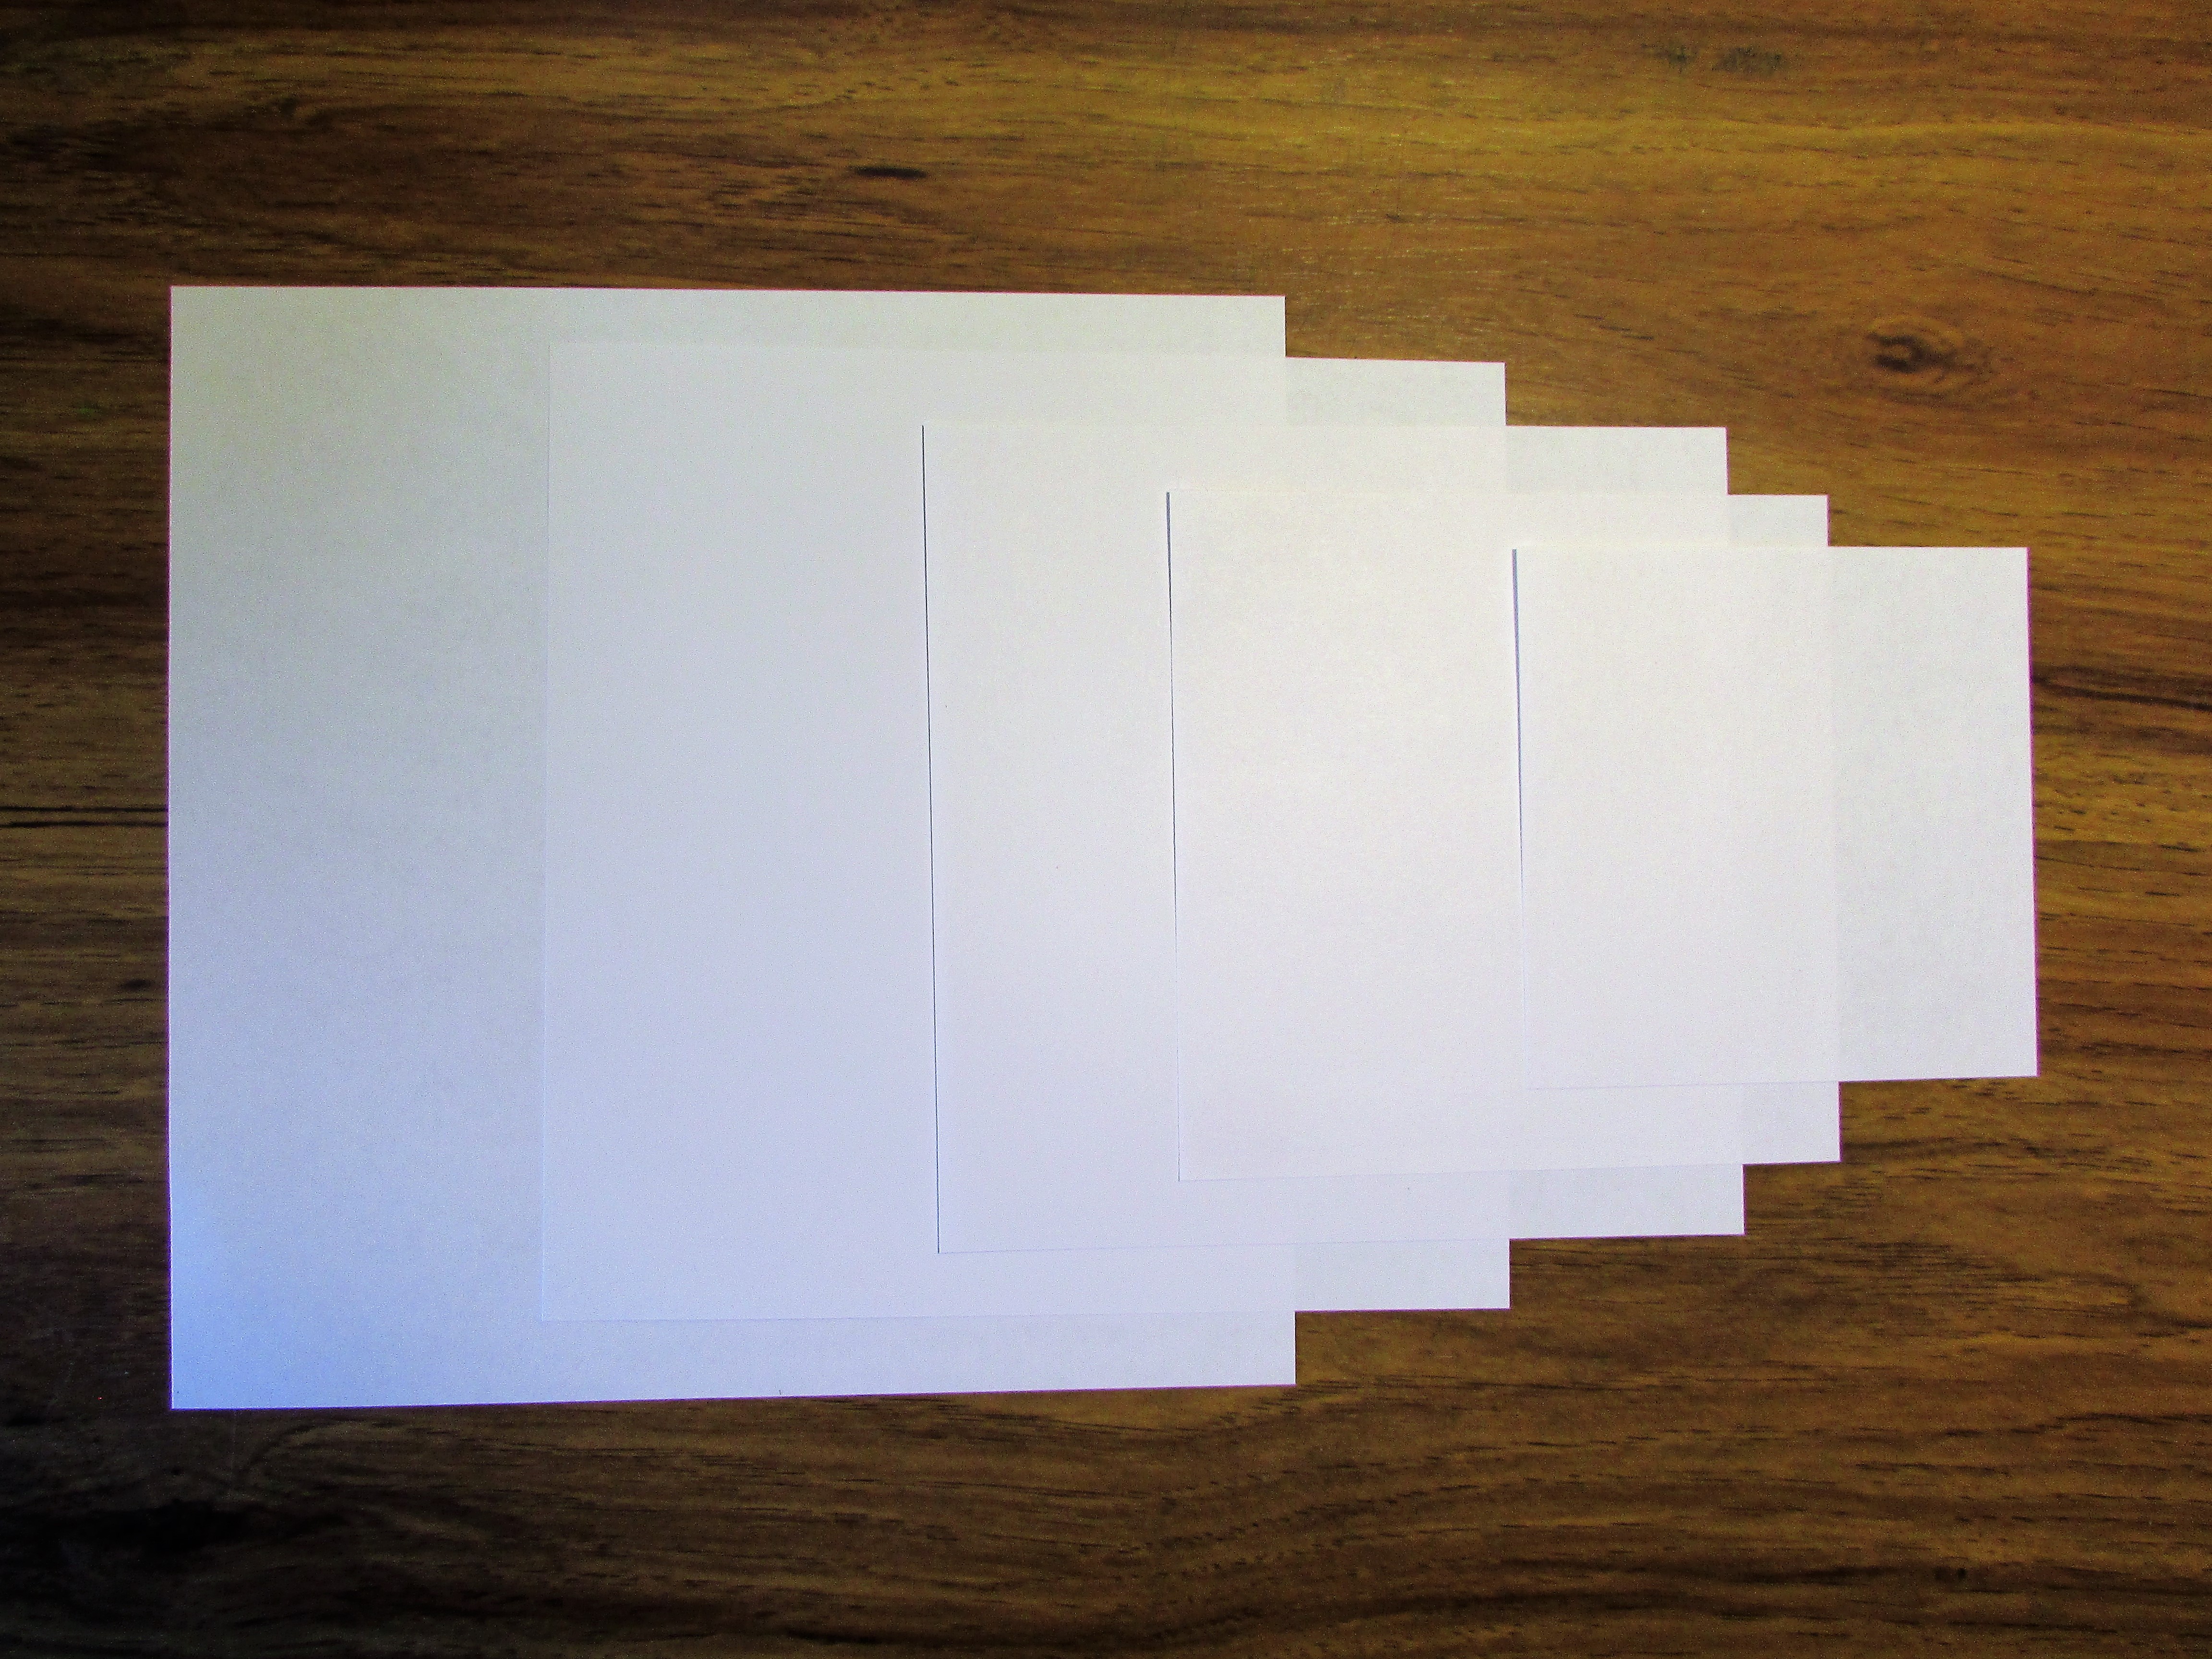
The most important tip I want to share is to cut many different-sized snowflakes. The snowflakes on my windows look more interesting if they are not uniform in size. I use squares of computer paper cut into various sizes, four inches to eight, and everything in between. If you start with a square and do the folding correctly, your snowflakes will be a success.
As always, the best way to store paper snowflakes is inside a book until you are ready to use them. Here is a true story and a tip, too. Write down what book you place them in and where they are kept. I lost dozens and dozens of finished snowflakes a year or two ago. I found them months later in the "safe" place I had stashed them.
To finish off the snowflakes, press them between sheets of wax paper with an old iron you reserve for crafts, or to preserve your iron and board, encase them in several layers of newspaper and press them in wax paper. When you pull the wax paper away, your snowflakes will have a protective layer of wax to keep off the condensation winter windows often form.
I use washable school glue sticks to keep the snowflakes in place. When it’s time to take them down just pull the paper away from the windowpane and swipe with a wet washcloth once or twice. Let the moisture soak in for a minute, wipe again, and all the paper and glue washes away. Sometimes, if I use the right cloth, I don’t even need to use window cleaner. Anyone who has ever picked transparent tape off of a piece of window glass will know how tedious it is and how long it takes. Gluing the snowflakes to the windows sounds scary, but believe me, I’ve done it for years and it is SOOOOOO much easier than taping because of easy removal.
You will need squares of paper. Computer paper is a good choice for snowflakes. I use different sizes, eight, seven, six, five and four-inch squares. All of these sizes are fairly easy to fold and cut.
Fold the square into a triangle shape by matching catty-corners, or in more modern terms, opposite corners.
After the first fold is complete, using the corners on the long side of the triangle, fold the paper corner to corner once more.
This next part is a little tricky. Let the longer side of the triangle face away from you. Bring up the right corner and fold it about a third of a way from the middle. Turn the paper over and repeat this step. You will have an accordion folded piece of paper with two bunny-type ears if you have folded it correctly. If this step is confusing watching the video at the top of the post will help.
After I fold the triangle into this shape, I trim the 'ears' off leaving a cone shape. This does not have to be perfectly rounded, you will be cutting into it.
* Important *You must always leave a bit of the folded sides intact to keep the snowflake whole. Don't worry if you accidentally cut one and have it fall to pieces...it's only paper after all.
Begin cutting your snowflake. Try to use both rounded cuts and straight snips. The combination of round and straight will give your snowflake a natural look. After cutting, open up, and prepare to be amazed by your beautiful handiwork.
I like to place the finished snowflakes in the windows of the house. Because the indoor heat causes condensation, the next step is especially important if you are using them on windows.
Iron the snowflakes between sheets of waxed paper. The layer of wax deposited on the paper will create a barrier against moisture. If you are using a good iron, protect it and the ironing board. Cover the board with an old cloth and use layers of newspaper beneath and over the waxed paper before you begin. The heat of the iron will penetrate the layers of newspaper and melt the wax onto the paper. You might need to change the newspaper several times. I use the waxed paper only one time, use a new sheet, top and bottom, for each batch of snowflakes.* Important *Have a lot of newspaper on hand if you are using a good iron.
I remove the waxed paper immediately after ironing by pulling the two pieces apart. The snowflakes are ready to glue to your windows.
Glue??? Yes, you read right. I recommend Elmer's Disappearing Purple School Glue. Unless you want to spend hours and hours peeling and scraping tape residue from your windows, use a washable glue stick. A glue stick does leave a bit of residue when you take down the snowflakes, but it's easy to remove with a wet rag. A spray of window cleaner and you would never know glue had been on your windows.
Hi Ananka, it isn't Christmas for me without these snowflakes on my window. A little computer paper, some scissors, some time, and voila'... beauty inside and out.


Great idea and I can do it with my daughter. They look good on the window :-D
ReplyDeleteHi Ananka, it isn't Christmas for me without these snowflakes on my window. A little computer paper, some scissors, some time, and voila'... beauty inside and out.
Delete